 EN
EN  Español
 get a free quote

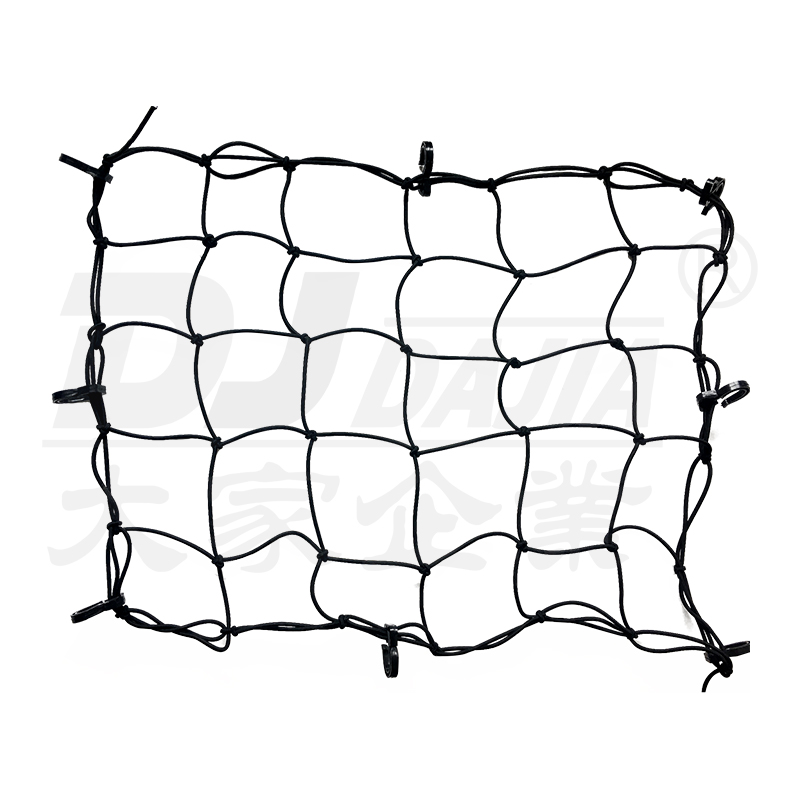
Embarking on off-road adventures with your ATV demands not only a spirit of exploration but also a keen eye for safety and organization. Among the essential accessories that every ATV rider should master is the installation of an ATV elastic cargo net. These specialized nets are the unsung heroes of off-road travel, keeping your gear securely in place during rugged terrain excursions.
Selecting the Right Fit:
Before diving into installation, it's crucial to ensure you have the correct size of cargo net for your ATV. Measure the dimensions of your ATV's cargo rack or storage area to determine the appropriate size of the cargo net. A snug fit is essential to prevent any shifting or slippage of cargo during travel.
Inspecting for Quality Assurance:
Before installation, conduct a thorough inspection of the cargo net. Check for any signs of damage, such as tears, fraying, or loose hooks. Ensure all hooks, loops, and elastic cords are in pristine condition, as any defects could compromise the effectiveness of the cargo net during transport.
Preparation is Key:
Prepare the cargo area of your ATV by clearing it of any debris or obstructions. A clean surface not only provides better adherence for the cargo net but also minimizes the risk of damage to your items during travel.
Positioning with Precision:
Lay the cargo net over the cargo area of your ATV, ensuring it covers the entire surface evenly. Adjust the net as needed to achieve a snug and uniform fit. Pay close attention to any protruding or irregularly shaped cargo that may require special attention during installation.
Securing with Confidence:
Attach the hooks of the cargo net to the designated attachment points on your ATV's cargo rack or frame. Ensure each hook is securely fastened and properly engaged to prevent any slippage or dislodging of the cargo net during travel. Double-check the attachment points for stability before proceeding to the next step.
Tensioning for Stability:
With the cargo net securely attached, adjust the tension of the elastic cords as needed. Aim for a firm yet flexible tension that securely holds the cargo in place without overly restricting movement. Avoid over-tightening the cords, as this could lead to damage or premature wear of the cargo net.
Testing for Assurance:
Before loading heavier items onto your ATV, conduct a thorough test of the cargo net with a lighter load. Give the cargo net a gentle tug to ensure it is securely fastened and there is no movement or shifting. This preliminary test ensures peace of mind and confirms the effectiveness of your installation.
Routine Maintenance and Inspection:
As with any equipment, regular maintenance and inspection are key to ensuring optimal performance and longevity. Periodically inspect the cargo net and attachment points for any signs of wear, damage, or loosening. Replace any worn or damaged components promptly to maintain safe and secure cargo transport.
By following these comprehensive steps, you can master the art of installing an ATV elastic cargo net on your vehicle with confidence and precision. With your gear securely fastened in place, you can embark on off-road adventures with peace of mind, knowing that your cargo is safe and secure for the journey ahead.


500kg 5m Ratchet Straps Car Transporter Tie Down Straps With S Hook")


